


Your smooth start with Nood
Everything you need to get results—whether you're just exploring or already flashing.
It's easier than you think.
No complicated setup. No appointments. Just three simple steps for smoother, brighter skin. Before you start, complete the skin safety test.

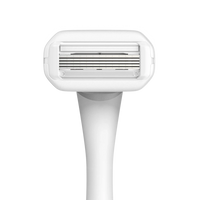
Prep
Shave (for hair removal) or cleanse (for rejuvenation). Skin should be clean, dry, and product-free.

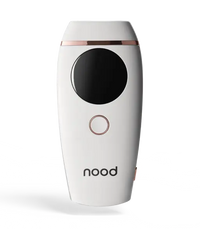
Flash
Place the device flat on your skin. Tap for single flashes or hold to glide across larger areas.

Glow
Repeat twice per week and protect with SPF daily. Results build over time—consistency matters most.
Prep
Shave (for hair removal) or cleanse (for rejuvenation). Skin should be clean, dry, and product-free.
Flash
Place the device flat on your skin. Tap for single flashes or hold to glide across larger areas.
Glow
Repeat twice per week and protect with SPF daily. Results build over time—consistency matters most.
BEFORE YOU START
How to prep your skin and test safely.
Before your first flash, make sure IPL is right for you.
-
Ensure your skin color and hair color are suitable for IPL treatment using this chart.
-
Avoid using over recently tanned or sunburned skin.
-
Pause photosensitizing products or medications (e.g., retinoids, Accutane, certain antibiotics).
-
Always complete the Skin Safety Test on each new area before beginning treatment. Please refer to the instructions included with your device.
For hair removal
Shave only. Do not wax, pluck, or thread at least 30 days before treatment.
For rejuvenation
Cleanse only. Skincare applied before treatment can reduce efficacy of treatment.
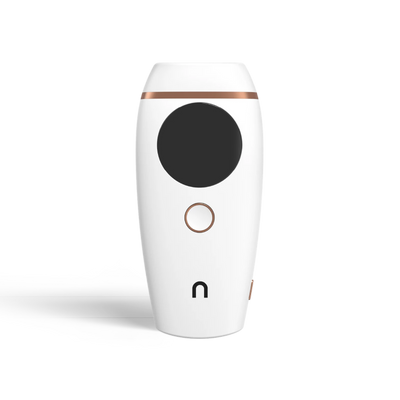
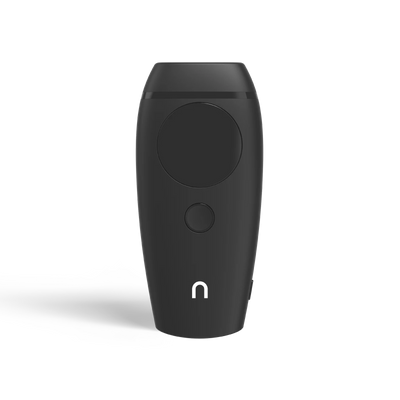
HAIR REMOVAL (HAIRLESS LENS)
Your step-by-step guide for long-lasting smoothness.
Prep
Shave the area closely and ensure skin is completely clean and dry.
Power On
Plug in, turn on, and start at the highest intensity you can tolerate. Increase gradually as comfortable. Must be at least at level 3 (hair removal only).
Flash
Hold the device flat against your skin. Tap once for single flashes or enable continuous glide mode for quicker treatment. Maintain full contact each time.
Aftercare
Avoid excessive sun exposure for at least 24 hours. Use a moisturizer or calming aloe if needed.


90% of users saw smoother skin
with reduced regrowth after 8 weeks
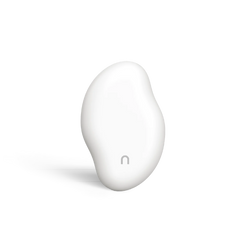
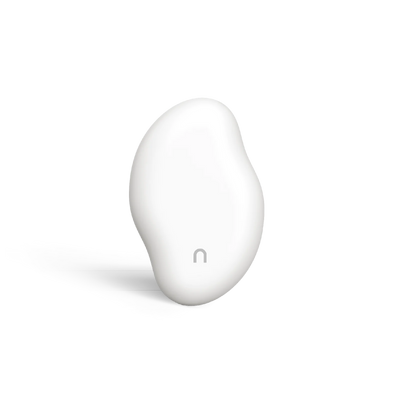
Skin Rejuvenation (Ageless Lens)
Use the Ageless Lens to brighten, smooth,and even tone.
Cleanse
Remove makeup, SPF, and actives (retinoids, acids, vitamin C). Pat dry.
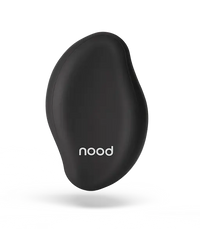
Attach Ageless Lens
Power off before swapping lenses. Align and click into place.
Flash
Use single flashes on face and neck; glide for chest or hands. Start low (Level 1–2). Avoid the eye area, lips, and dark moles.
Protect & Soothe
Apply a hydrating moisturizer post-treatment. Avoid actives for 24 hours. Daily SPF 30+ is non-negotiable.
If you have melasma or deep pigmentation, consult a dermatologist before using the Ageless Lens.


Pro results, at home
The Ageless Lens delivers the same rejuvenating light technology used in professional photofacials, without the downtime.
LEARN MOREAftercare & Maintenance
Keep your skin calm, protected, and glowing.
-
Avoid hot showers, saunas, or workouts immediately after treatment.
-
Moisturize with gentle, fragrance-free formulas.
-
Use SPF 30+ daily on treated areas.
-
Clean the lens with a dry cloth after each session.
-
Pause strong actives for several days if you notice sensitivity.
SHORT SUMMARY
Keep your skin calm, protected, and glowing.
Ensure full skin contact and the correct lens attachment.
Lower intensity, confirm skin is shaved and dry, and move more slowly.
Normal and temporary. Apply a cool compress or gentle moisturizer.
Stop use and reach out to support@nood.com
Er 01
Fan issue – power off, unplug, restart.
Er 03
Temperature alert – allow device to cool before resuming.


Your complete ritual
Prep with The Buff Bar. Treat with The Flasher. Finish with The Nood Serum.
SHOP ESSENTIALS